Sandstorm Adventures: Using Keycloak's SAML
To entertain myself, I decided to try setting up Sandstorm, a nice self-hosted platform for web applications. It sells the dream of not having to share your private data and run all basic web services (chat, email, etc.) locally instead. A laudable goal, for sure, in an era when every single major tech company wants to swallow up your most personal details for profit. But I quickly hit a snag - authentication.
Sandstorm doesn’t come with a built-in authentication system. You can pay for it, as part of their hosted version. Which is fine, they need to make money for them to continue developing the platform. But I just wanted to check it out and not have to shell out cash just yet. Alternatively, you can use a third-party like Github or Google. This seemed against the underlying principles of self-hosting though, so it wasn’t an option for me.
One of the authentication options was SAML. What I know about SAML could be written on the back of an envelope. In crayon. Still, from using it at work, I knew of an application that was open source, free and supported SAML out of the box: Keycloak.
Keycloak == Lovely
I have a slight nerd-crush on Keycloak. Sure, it’s a large, enterprisey Java webapp that’s a little forbidding. But it’s extremely configurable, very extensible and offers a pre-made solution to a feature set essential for any software web platform: authentication and authorisation. To all developers reading this: how many times has a boss/product owner/customer come to you and said “we need a self-service user management portal” or “we need to implement two-factor authentication” or “we need a single sign-on system”? It’s one of the fundamental features that has been reimplemented slightly differently in every single framework out there. Keycloak supports almost everything out of the box, no extra development required.
Knowing all this, I set about running Keycloak alongside Sandstorm and using it’s SAML support for local, offline authentication. The following steps were run on my all-in-one Ubuntu 16.04 server PC. It’s a slightly aged Intel Core 2 Duo system but has buckets of RAM and disk space, so perfect for running low-use services.
Running Keycloak
Redhat distributes a Docker image for Keycloak so that was the natural choice to get it running. Additionally, I already had Postgresql running on the box, so I wanted to use this for Keycloak’s datastore.
This is what I ran:
createdb -h localhost -U postgres keycloak
docker run  --net=host -e DB_VENDOR=postgres \
    -e DB_ADDR=localhost -e DB_USER=postgres \
    -e DB_PASSWORD=postgres -e KEYCLOAK_HOSTNAME=nas.home \
    -e KEYCLOAK_USER=admin -e KEYCLOAK_PASSWORD=admin jboss/keycloak:4.5.0.Final
Note: nas.home is the hostname I use for accessing my server. I have a local DNS proxy for serving that hostname to all my local network devices. Replace nas.home with whatever you use personally.
Keycloak was now available on http://nas.home:8080. The next step was configuring the SAML support.
Setting up SAML
There are ways of automating Keycloak configuration, but it’s not something I have delved into. Instead, the following screenshots show how it’s done via the GUI. This was the result of quite a bit of trial and error, mainly because I have no idea how SAML works :)
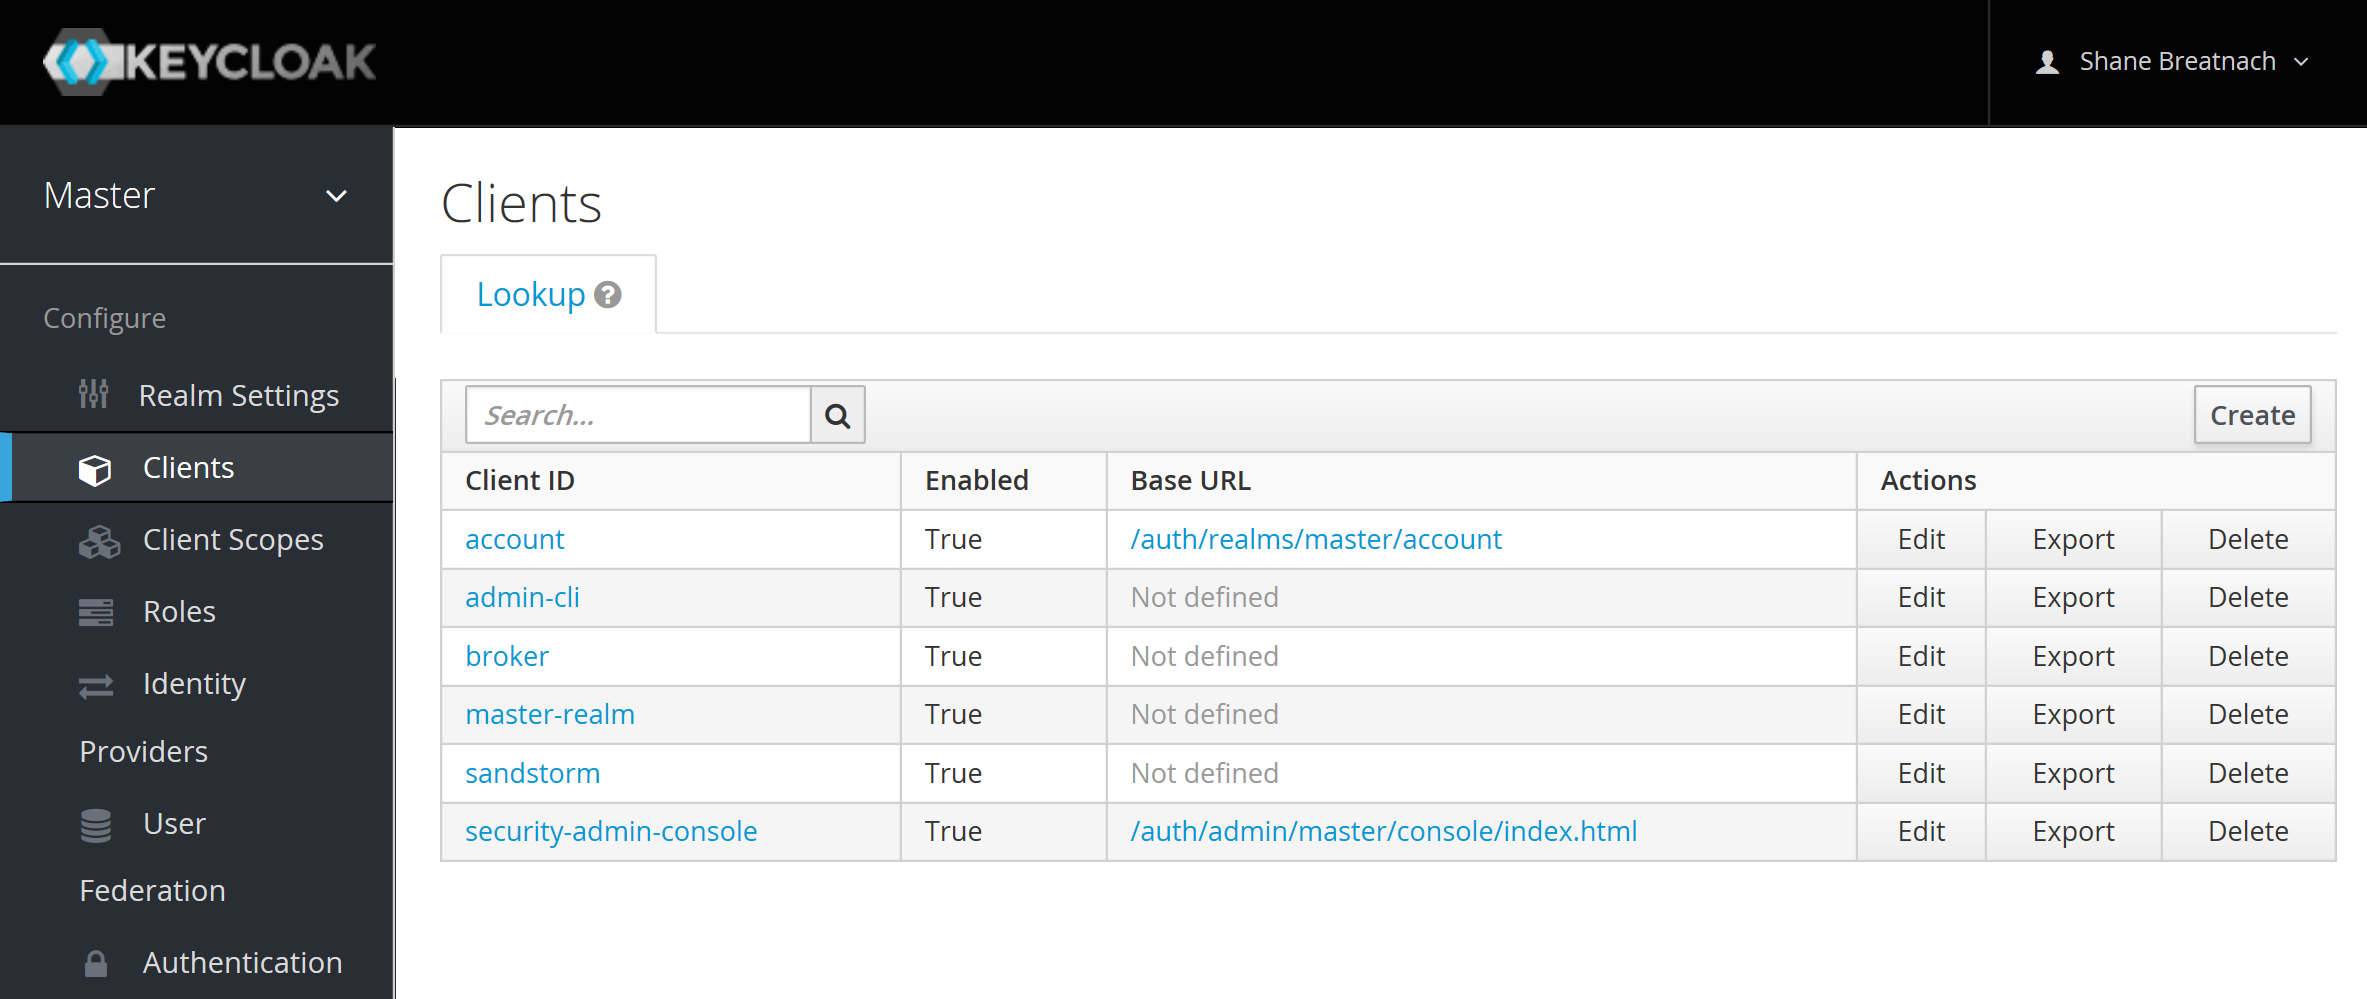
First, create the client:
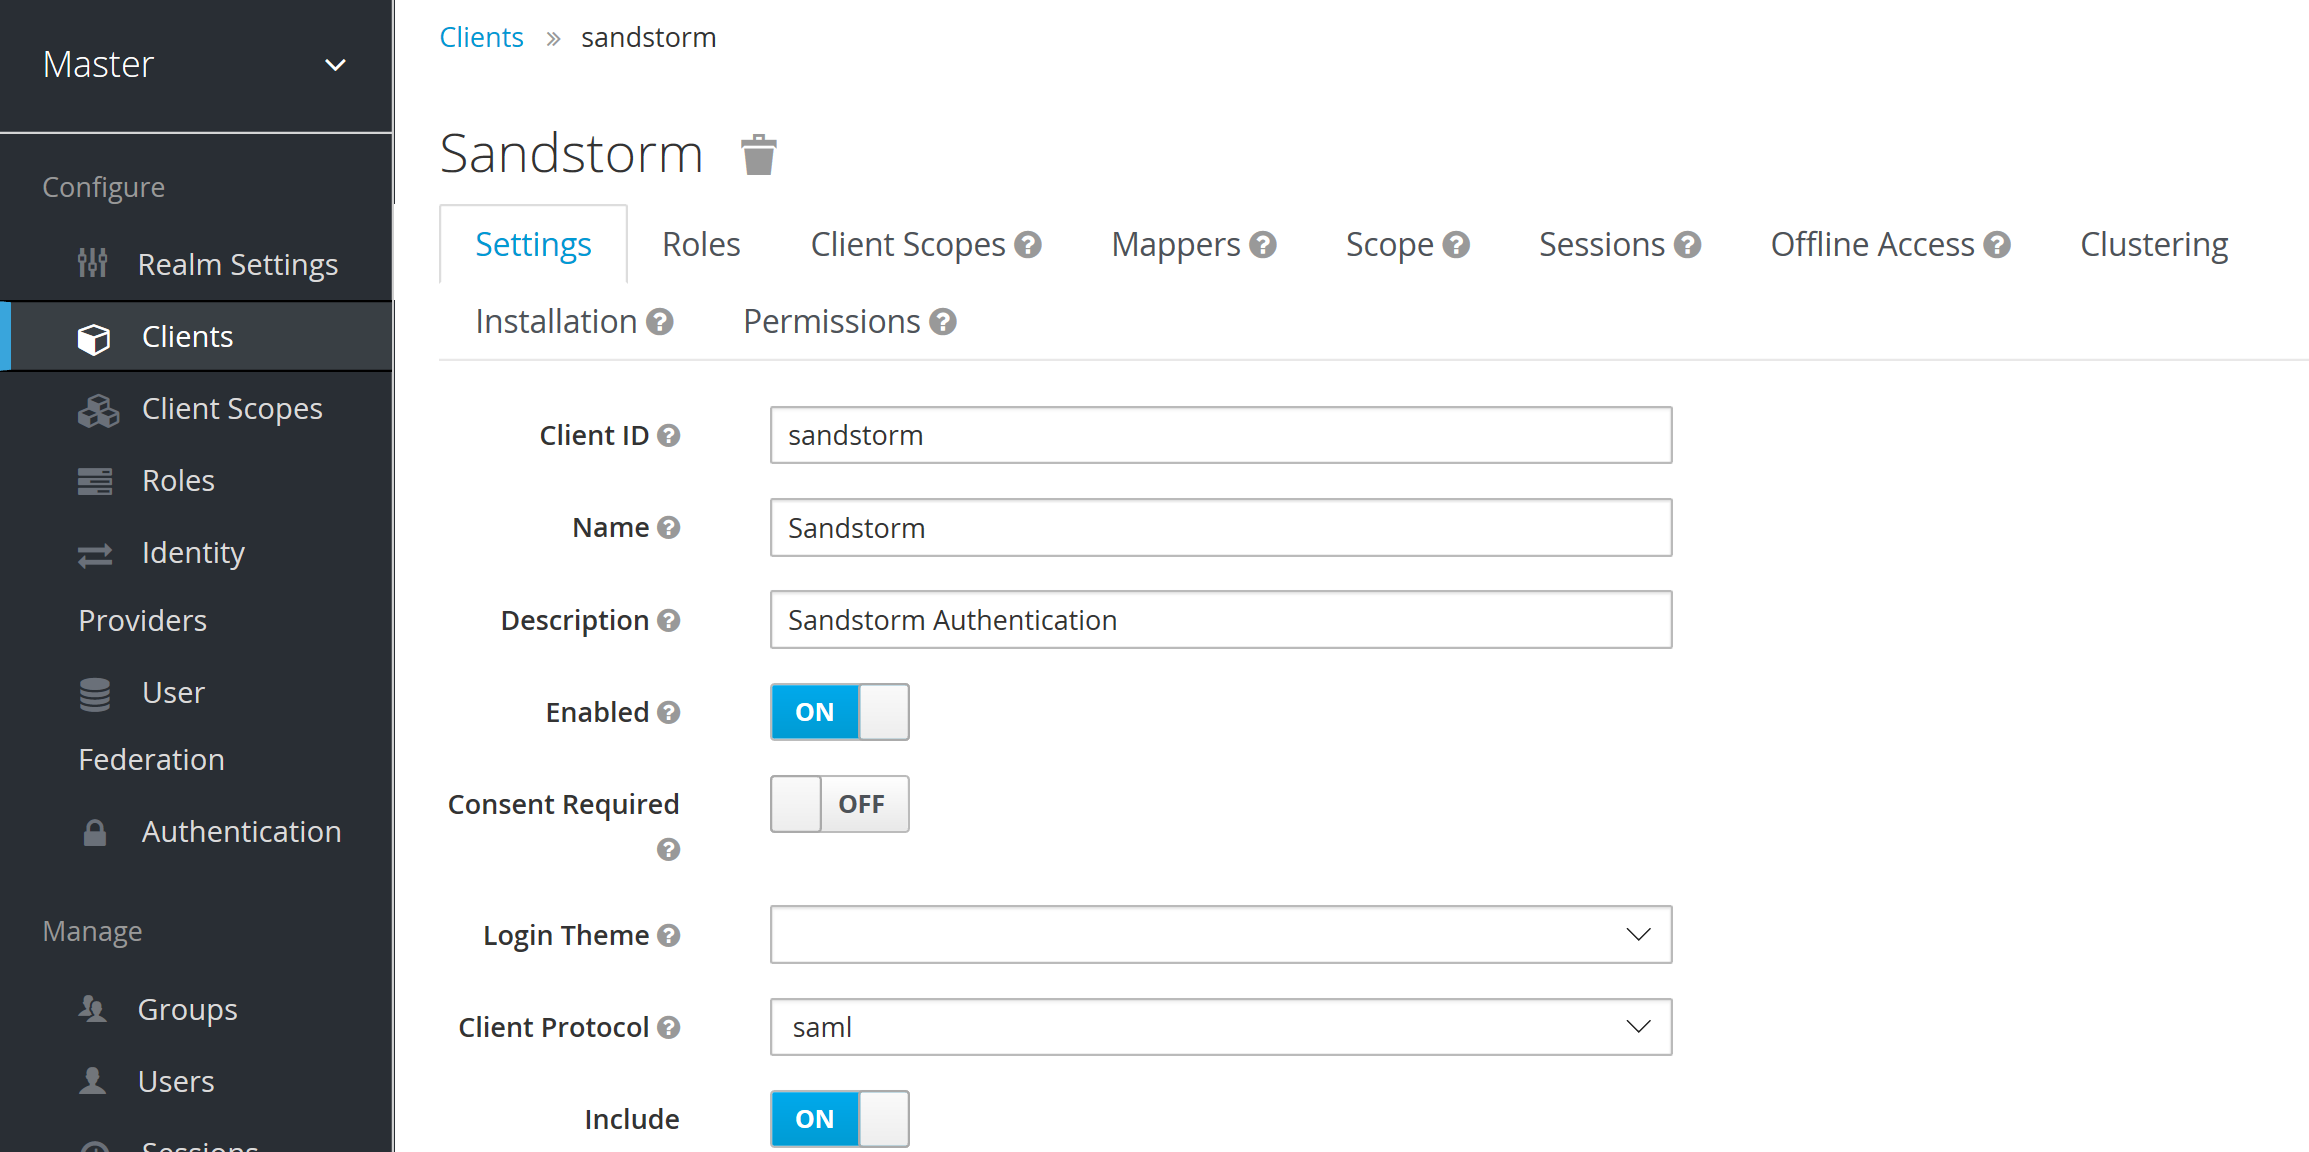
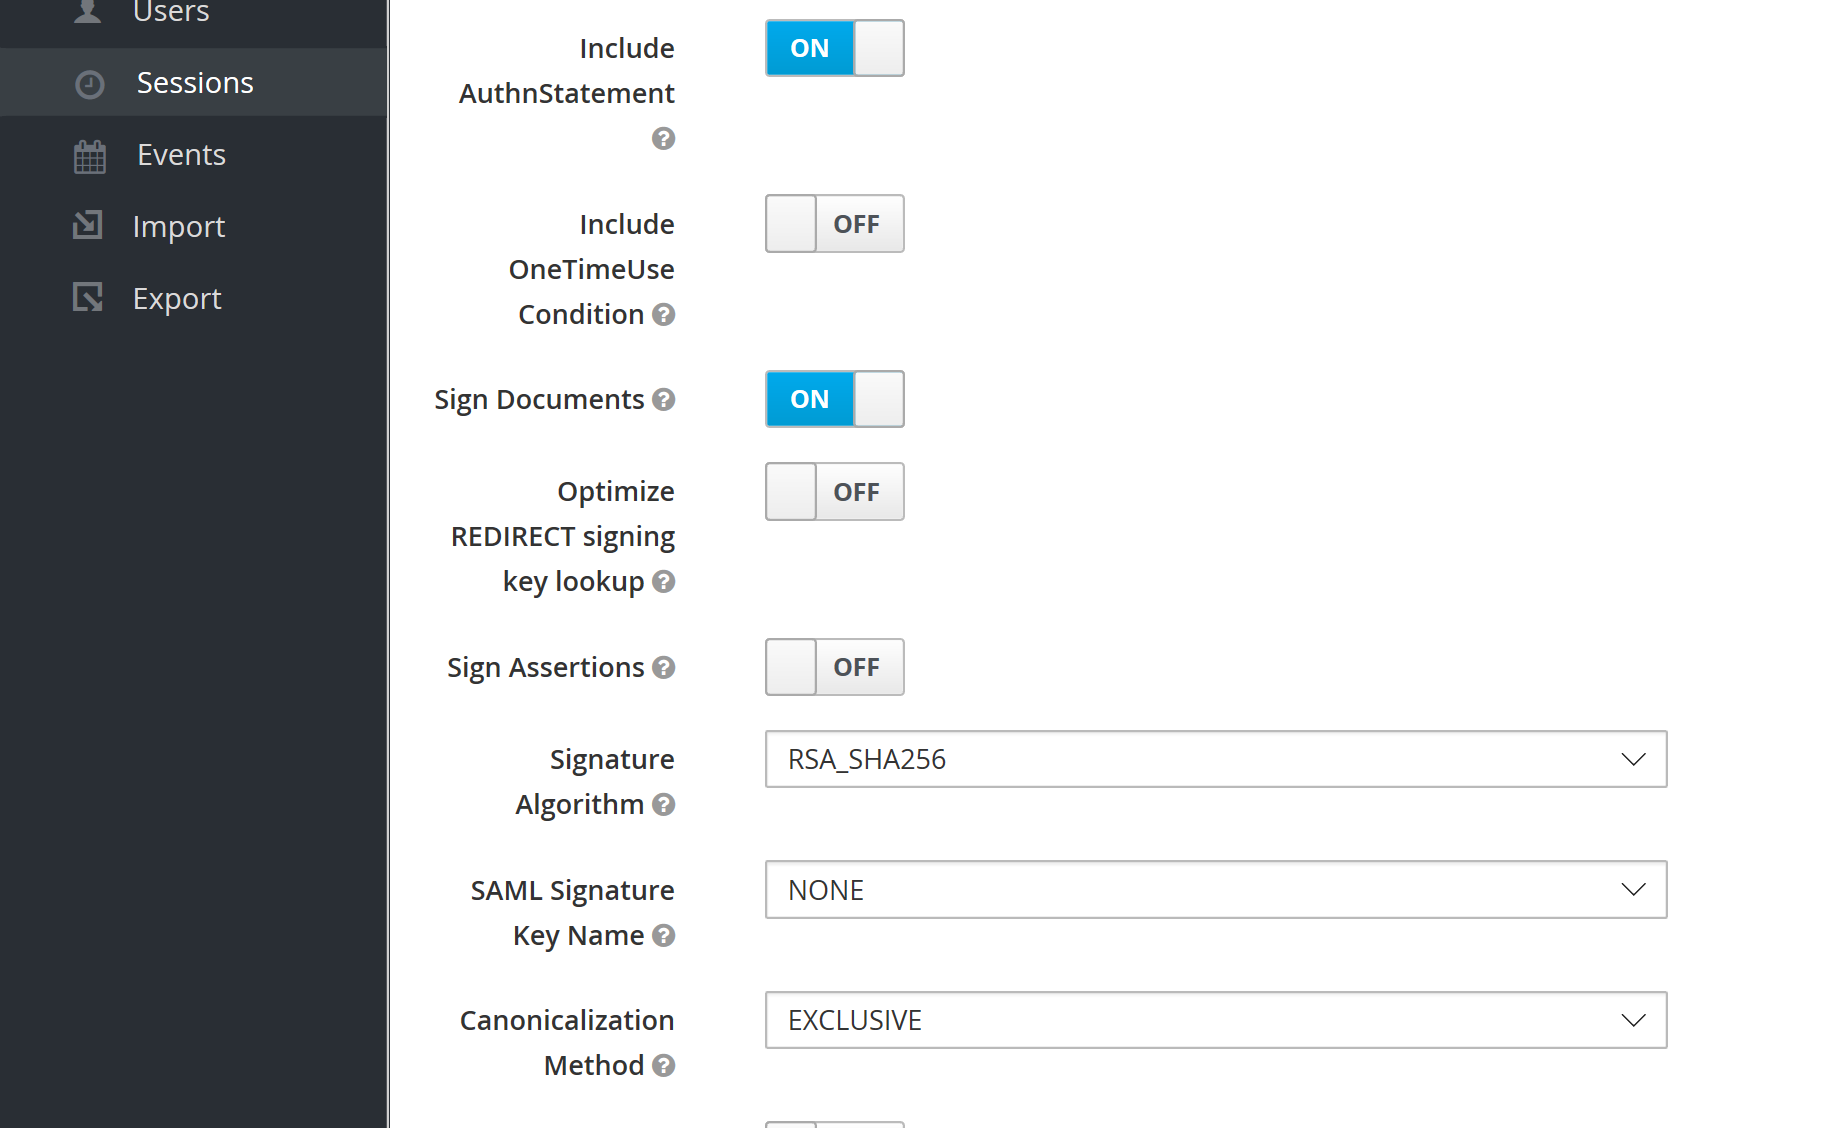
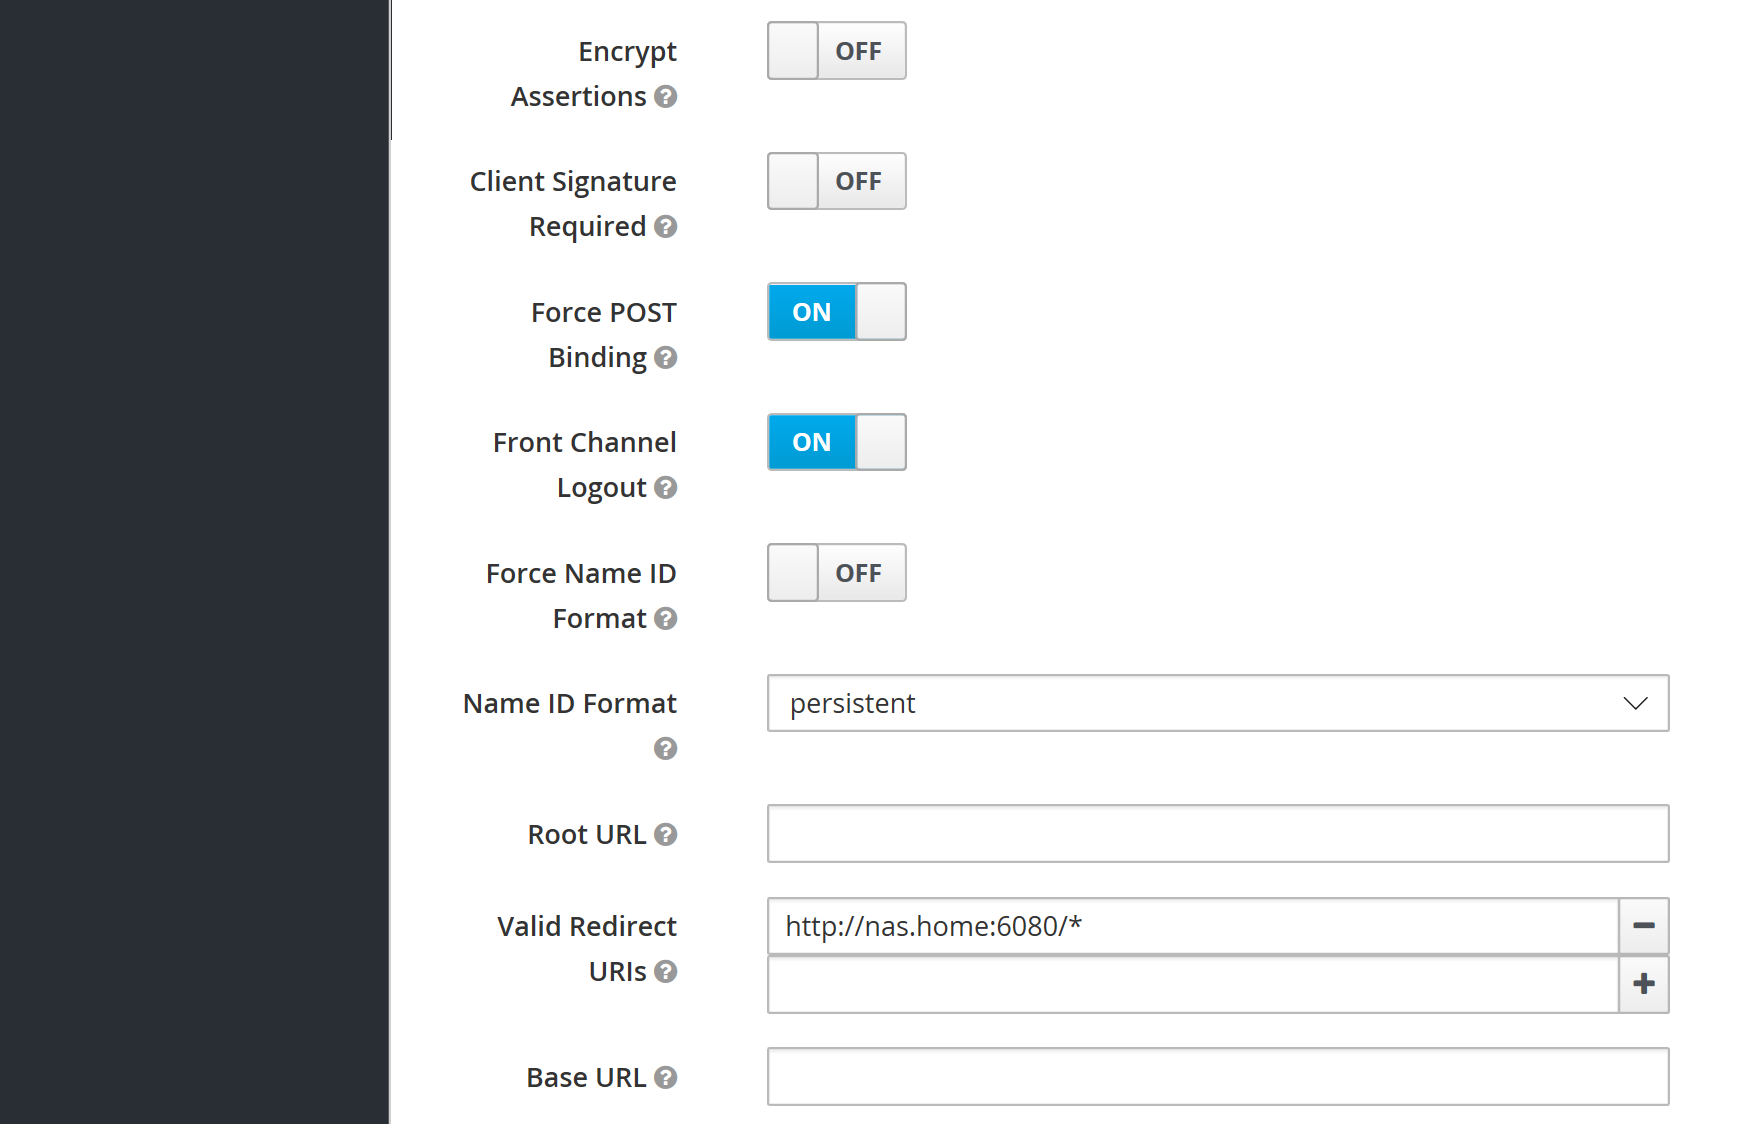
Configure the options for the client:
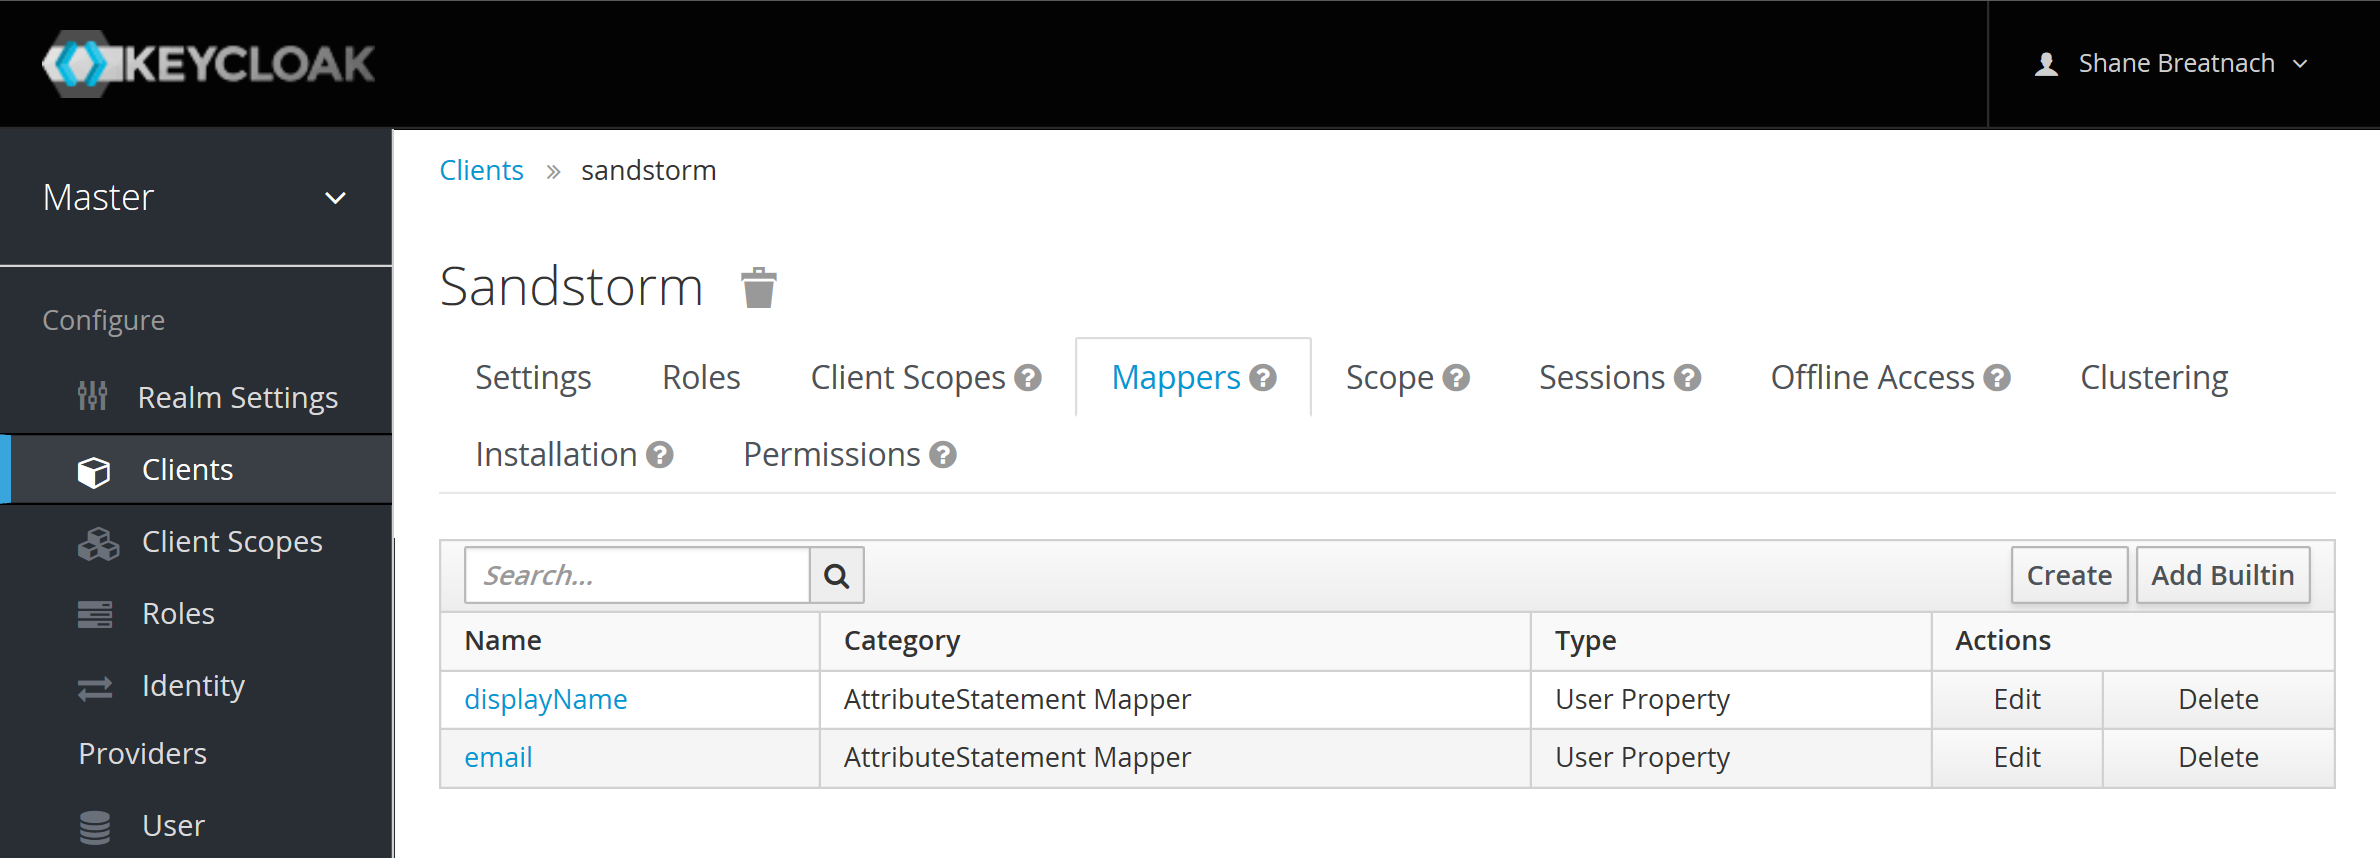
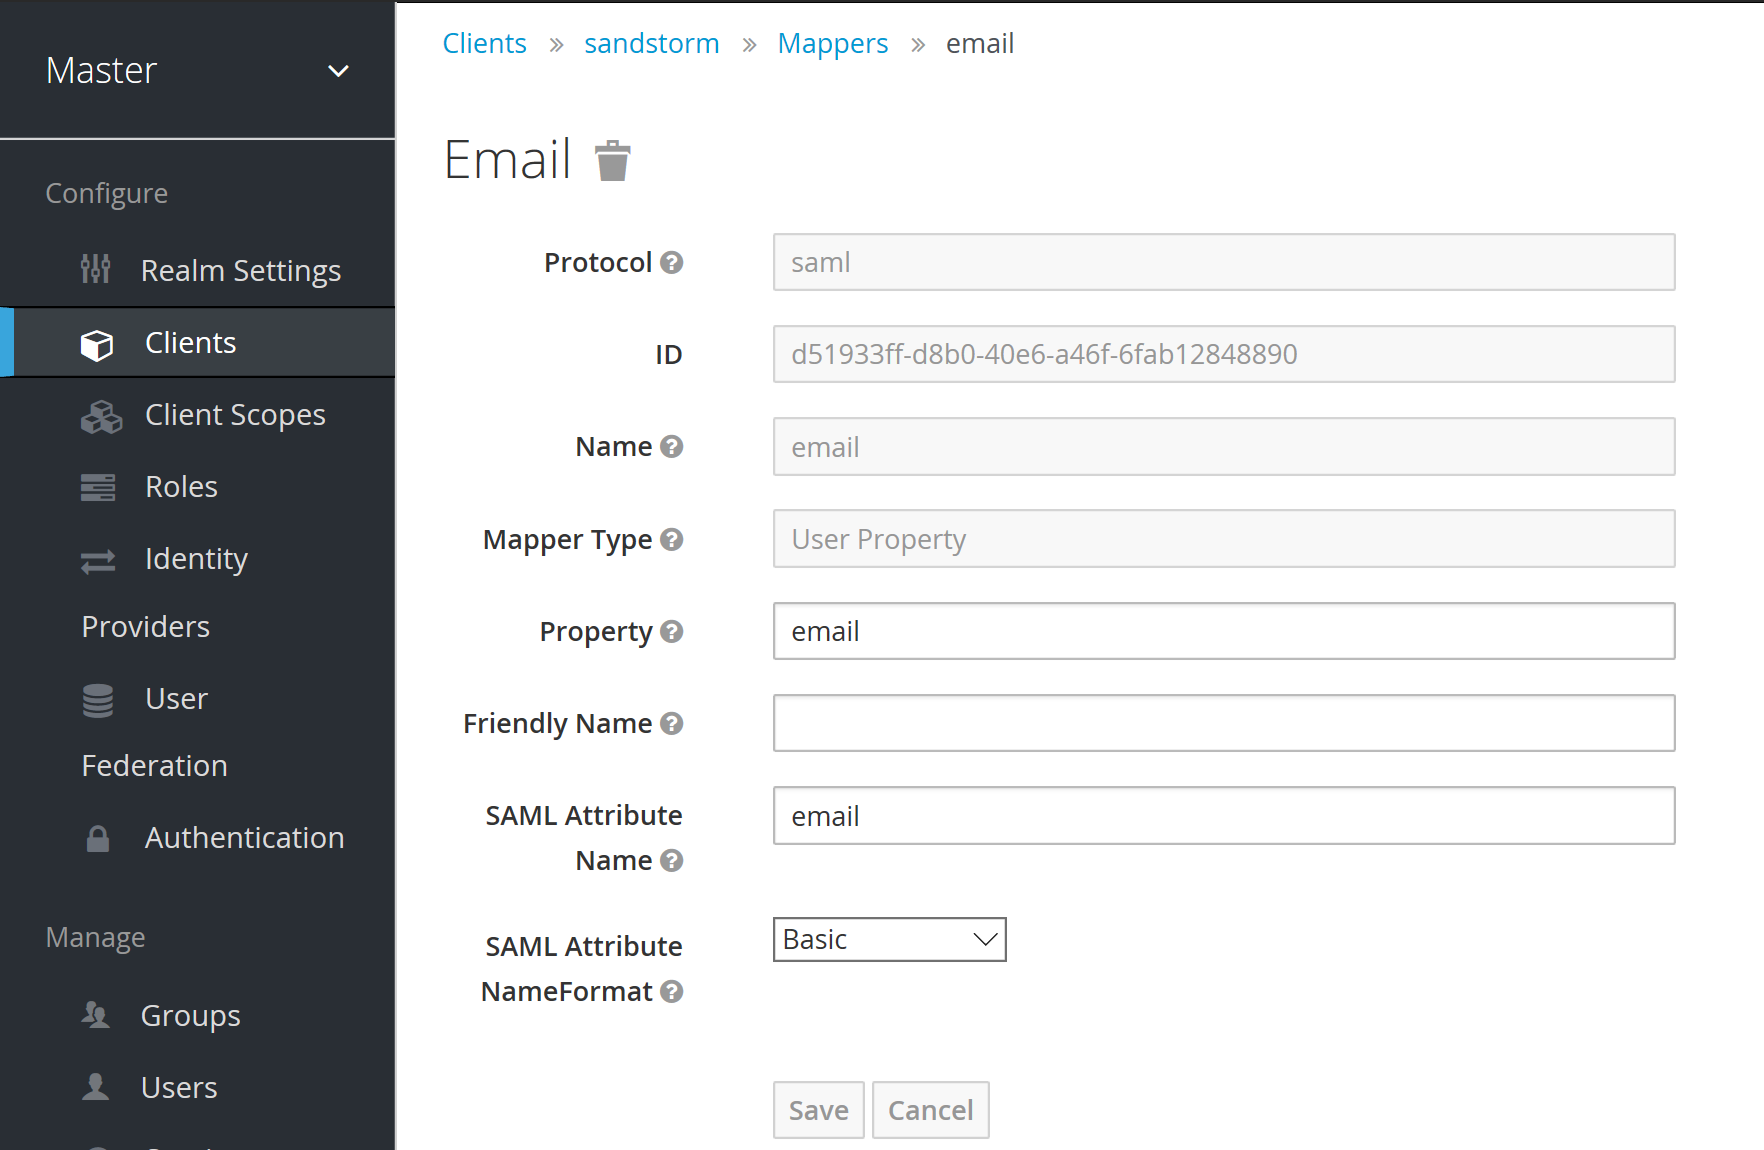
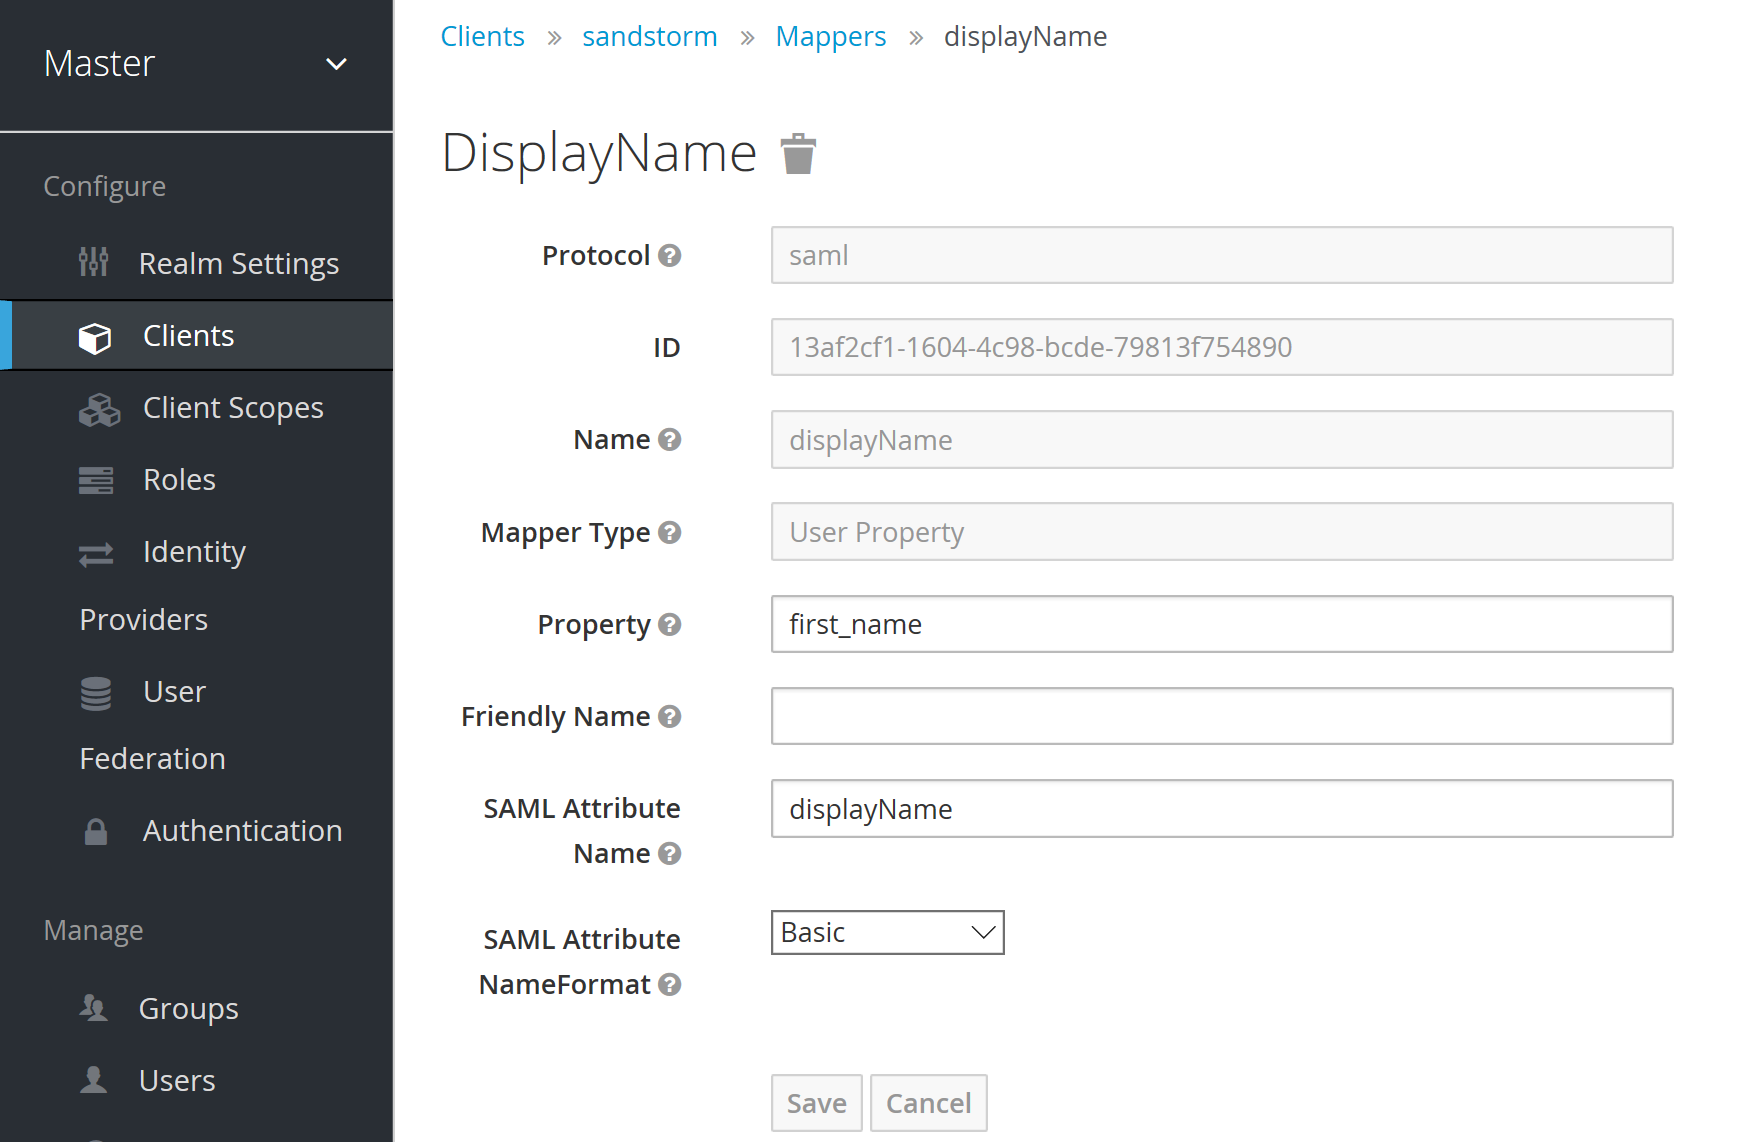
Set up mappers for the data in the SAML login response:
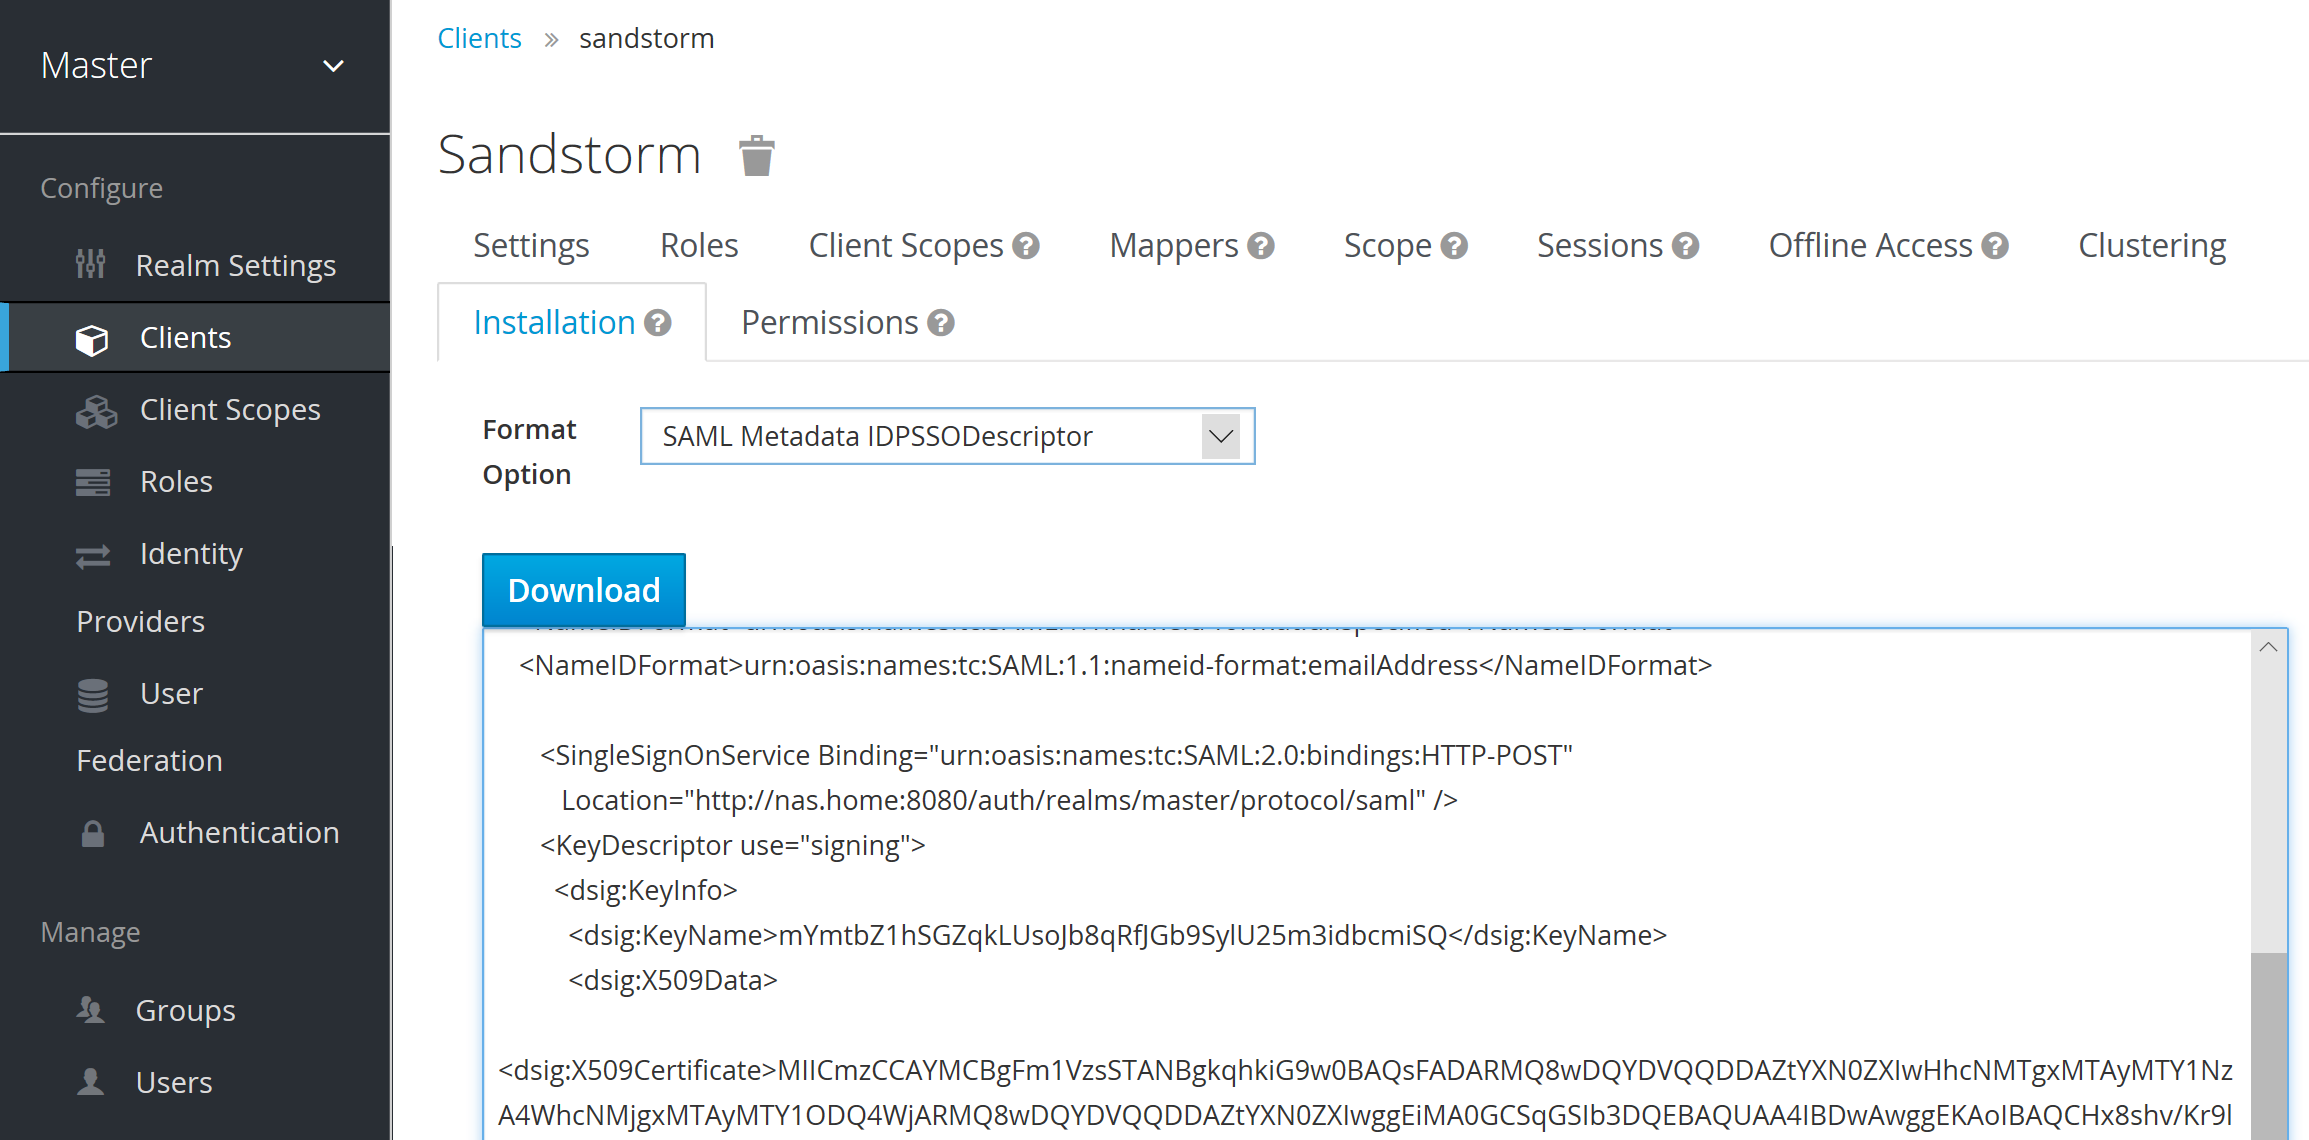
Finally, you’ll need the public certificate used to authenticate with Sandstorm. Copy and paste the X509 data from the Installation section (it’s embedded in the XML):
Sandstorm Integration
With Keycloak set up, the next steps are straightforward. In the SAML dialog, you enter the entry point URL http://nas.home:8080/auth/realms/master/protocol/saml, the SAML cert from the Keycloak steps previously and an entity ID of sandstorm.
And presto bingo bango, you have your local authentication system for using Sandstorm! Pretty neat, eh?